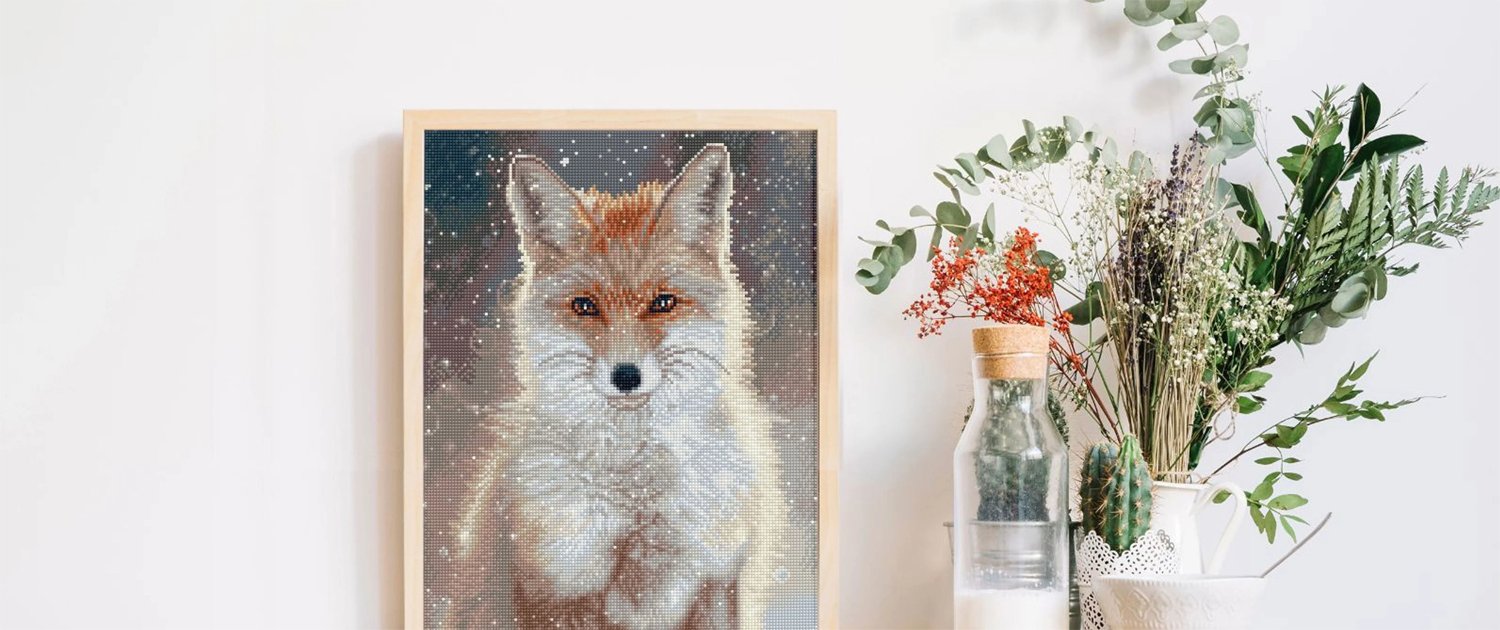


A BEGINNER-FRIENDLY GUIDE TO WORKSPACE SETUP
Creating a comfortable and organized diamond painting workspace makes every project easier, faster, and more enjoyable, especially for beginners. Whether you’re starting your very first diamond painting kit or upgrading your crafting setup, a well-lit, clean workspace is a must. A great setup helps reduce eye strain, keeps diamond drills organized and ready to use, and stores supplies within easy reach. Most importantly, a well-functioning workspace eliminates frustration and keeps you happy, and that’s a top priority, right?!
In this beginner-friendly guide, you’ll learn how to set up a simple and comfortable diamond painting workspace with drills that are organized and labeled, and essential tools that are at the ready.

CHOOSE A WELL-LIT, COMFORTABLE WORKSPACE
First things first. Before you dig into your canvas diamond painting kit, determine where you’re going to work. Keep in mind you may be dotting for long periods of time, during both the daytime and in the evening. That being said, choose a flat, sturdy surface in a well-lit space. This is basic, yet essential information. Psst: we’ve seen some really crazy setups, so we’re telling you this for a reason!
LIGHTING AND WORK SURFACE TIPS
- Bright, even lighting is important for visibility and eye comfort
- Natural light is great when it’s available; at night use a desk lamp and/or light pad
- Your sturdy surface can be as simple as a table or desk. Lucky enough to have a dedicated craft room? A craft table is a win-win for diamond painting.
- Find a comfortable chair and take breaks during longer dotting sessions. Many enthusiasts like to stand and stretch periodically due to the repetitive process of dotting.
- Keep pets, food, and drinks away from your setup (easier said than done, we realize, but important to note none-the-less!)

KEEP YOUR DIAMOND PAINTING AREA CLEAN AND CLUTTER-FREE
Another seemingly basic tip, but you’d be surprised! Before you get started, clear all of the unnecessary items from your desk or table. Give yourself a clutter-free space to start your diamond painting—this is a stress-relieving activity after all, and a clean work space definitely enhances the process!
CLEAN WORKSPACE TIPS
- Wipe down your table or desk to remove dust and pet hair
- Keep wax, pen, trays, and canvas within arm’s reach
- Use a small tray, mug or organizer for tools
- Ideally there is nothing else on your workspace except your diamond painting project. (Exception: we love a strategically placed favorite plant.)

SORT AND LABEL YOUR DIAMOND DRILLS FOR EASY ACCESS
If you’re new to diamond painting, you may not know this, but devotees refer to sorting and labeling diamond drills as “kitting up.” This is a huge topic and one that gets diamond painters really excited. So as not to overwhelm, we’re going to start with the basics.

DRILL ORGANIZATION BASICS
- Find your favorite storage method and pour drills into the storage containers of your choice; canisters and small stackable containers are popular options
- Label each canister with the color number and symbol for the kit you are working: our storage containers come with stickers for you label, or you can create stickers from the color key on the canvas
- Keep drill containers sealed when not in use
- Group similar colors together for faster grabbing while you are working specific sections of your diamond painting canvas
- Note that diamond painting canvas kits typically include zip-top baggies to store drills in after the original drill packets have been opened; specialty tools and storage items are add-ons you’ll discover and add to your stash as you hone your craft
- Once you become a full-on diamond painting pro, you will likely have a storage system that includes enough canisters or compartments to fully “kit up” each gem color before you begin a new diamond painting canvas (lucky you!)

USE MULTIPLE DRILL TRAYS TO WORK MORE EFFICIENTLY
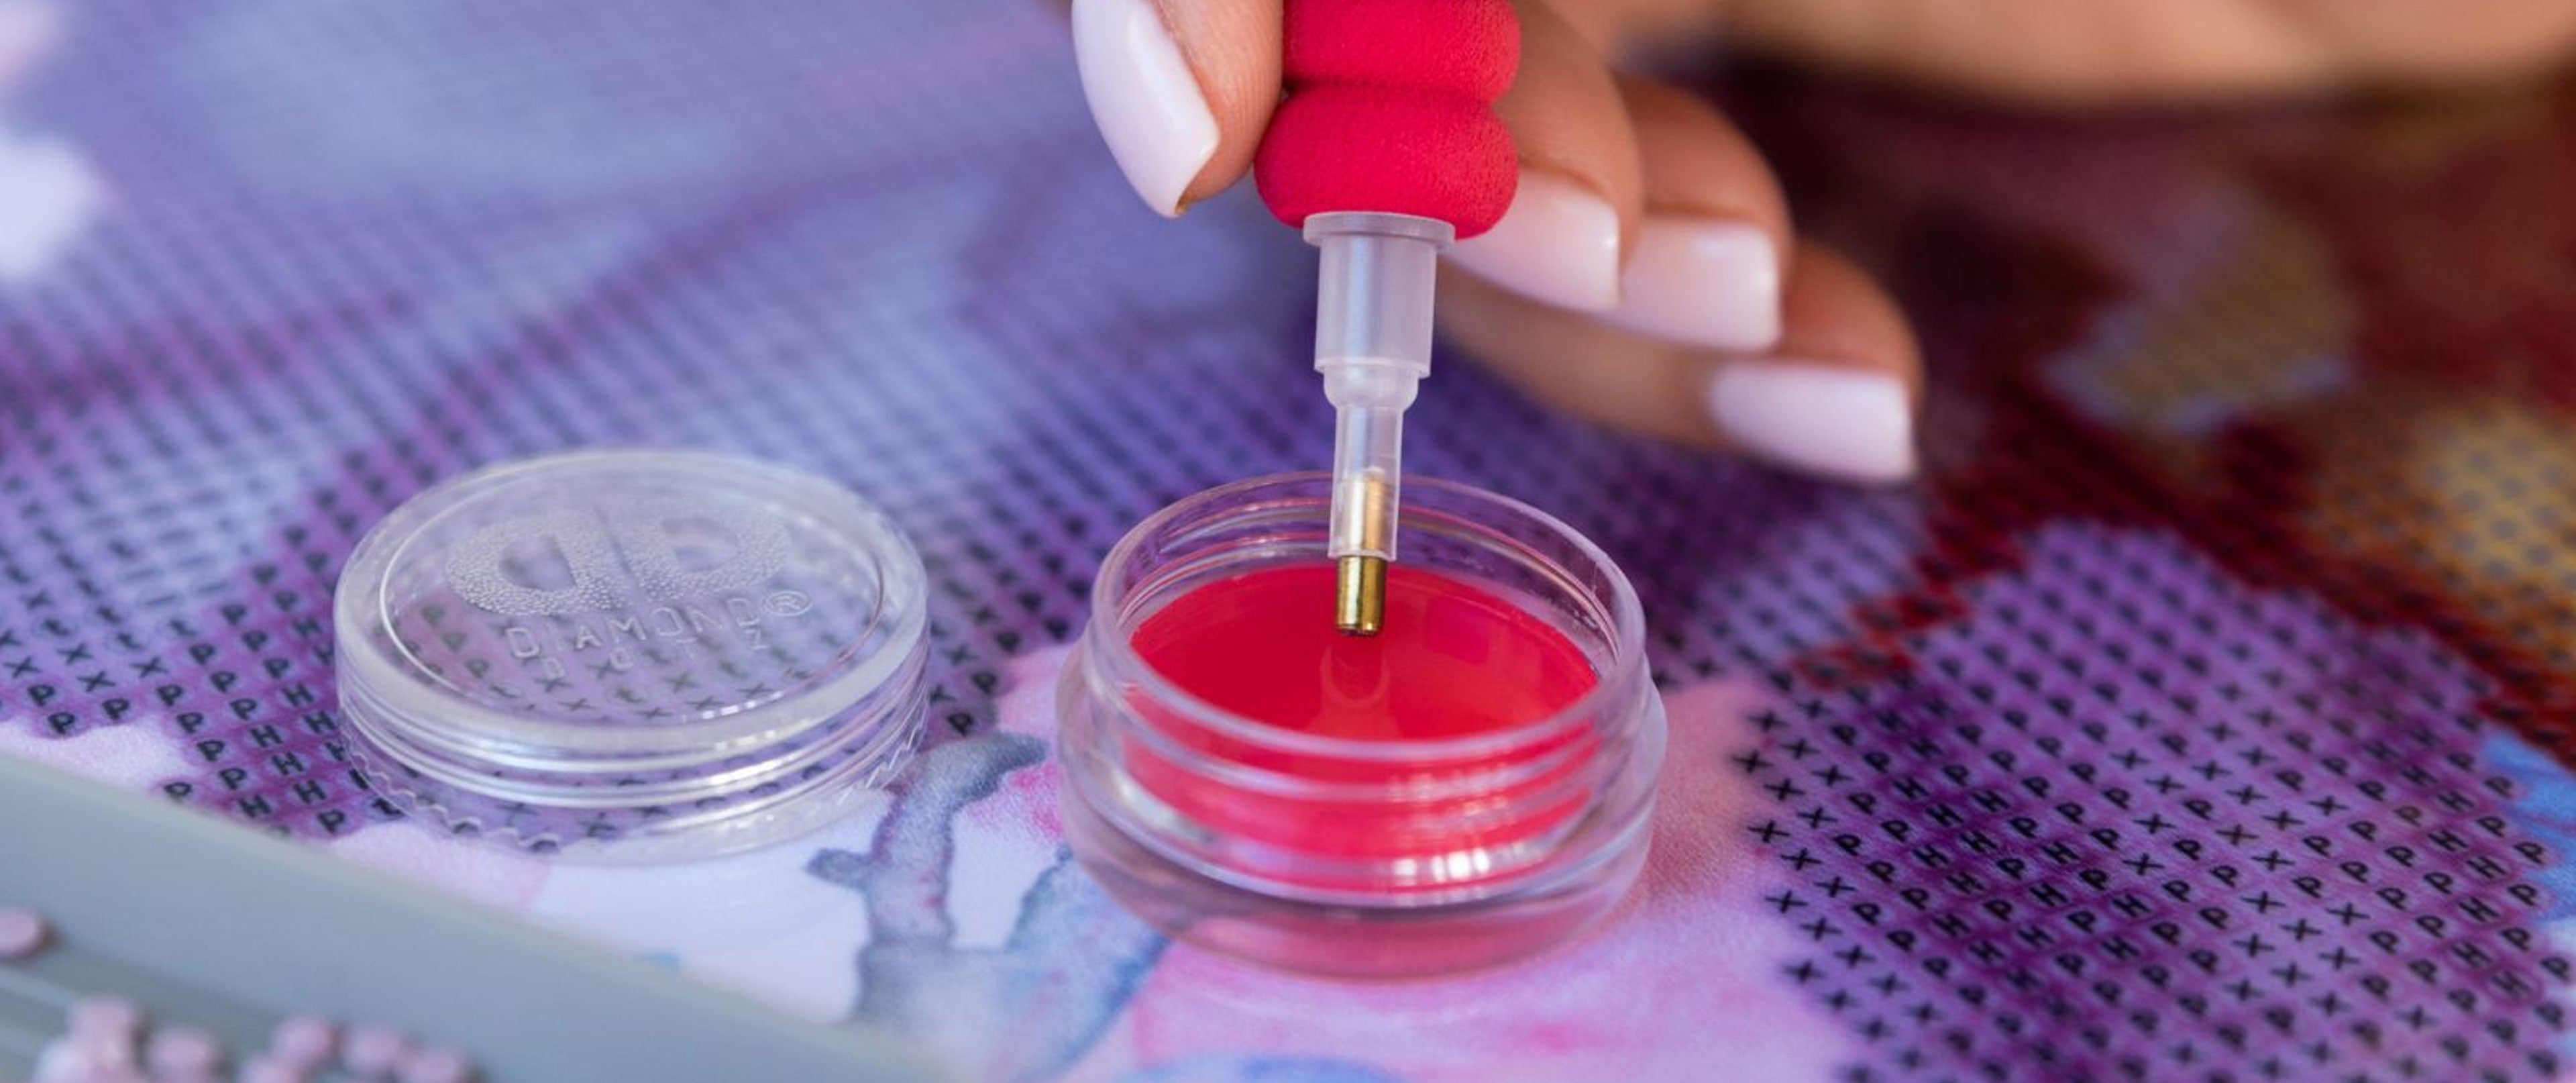
Once you’ve organized your drills, you’re almost ready to get started. First, choose a corner of the diamond painting canvas to begin dotting. Look at which colors are in the section you’ll be working and load craft trays with diamond drills from that section (one color per tray). Start dotting following our easy diamond painting tutorial.
TIPS FOR USING DIAMOND PAINTING TRAYS
- Assign one tray per color being used in a section (it’s great to have multiple trays for this reason)
- If you have several diamond painting trays you can work sections without unloading and reloading trays as you switch drill colors
- Keep trays arranged neatly on your table—within reach, but not in the way of being bumped or spilled

HOW TO STORE SUPPLIES BETWEEN SESSIONS
If you have to clear up your diamond painting workspace between sessions, take our word for it and do it methodically. The better you organize your work-in-progress, the easier it will be to set it up again when you resume dotting. (Remember that happy thing we mentioned previously?)
STORAGE TIPS FOR KITS-IN-PROGRESS
- Pour diamond drills from their trays and into their sealable storage containers
- Use a clear plastic bin or craft container to keep everything from a single kit together
- Place your canvas flat or gently rolled inside the tub (if it fits), or rolled up nearby (drills facing in); you can also store your rolled canvas inside the original box the kit came in
- Label the plastic bin with the name of the kit in progress (it’s not unusual to have multiple canvases in progress simultaneously—you’ll have to trust us on this one)
- If you keep your kit supplies in a tub or container, it’s easy to move your project from room to room or take it with you when you go—diamond painting is great for vacations and weekends away
- Kitted supplies are ideal for small spaces or shared tables

WORKSPACE TAKEAWAYS: KEEP YOUR SETUP SIMPLE AND BEGINNER-FRIENDLY
- You don’t need an expensive or complicated setup
- Start with the basics: light, table, storage, trays
- Adjust your workspace as you gain experience
- Experiment with layout and tools as you master your technique and discover your preferences
Setting up your diamond painting workspace doesn’t have to be complicated. A clean, well-lit surface, neatly labeled drill storage, multiple drill trays, and a simple storage container for your supplies can make a big difference in how smoothly your projects come together. With just a little organization, you’ll spend less time searching for tools or cleaning up spills — and more time enjoying the relaxing, creative process of diamond painting. And that’s a big win in our book!
Ready to build your perfect setup? Shop our wide assortment of premium Diamond Dotz canvas diamond painting kits and full collection of diamond painting tools and storage. Curate a personalized selection of workspace accessories to create a crafting space that keeps your projects protected, organized, and easy to enjoy anytime.
FAQs: DIAMOND PAINTING WORKSPACE SETUP
What is the best surface for a diamond painting workspace?
A flat, sturdy table or desk works best for diamond painting. Make sure the surface is clean, level, and large enough to hold your canvas, trays, and tools comfortably.
How much lighting do I need for diamond painting?
Bright, even lighting helps reduce eye strain and makes it easier to see symbols and place drills accurately. Many beginners use a desk lamp or light pad for extra visibility. Natural light always wins!
Should I organize my diamond drills before starting a project?
Yes. Sorting your drills into labeled storage containers before you begin saves time, prevents color mix-ups, and keeps your workspace neat while you work.
Can I leave my diamond painting set up overnight?
You can, but placing your supplies in a plastic storage tub or container helps protect your canvas and drills from dust, spills, and pets when you’re not actively working.
How many drill trays should I use at once?
Using two or three diamond painting trays for the colors in your current section allows you to switch between colors quickly without constantly refilling trays.