


Did you know that you can use Freestyle diamond painting supplies with charted design patterns to create sparkling diamond art? This is a really cool diamond painting technique that allows you to make small diamond paintings to apply to all kinds of surfaces – no kit is needed.
There a few essential supplies you will need to master this technique. This step-by-step tutorial will show you how to diamond paint using our free downloadable patterns, innovative sandwich adhesive, a palette of sparkling Diamond Dotz drills, and a couple basic diamond painting tools.

WHAT YOU CAN MAKE WITH DIAMOND PAINTING PATTERNS
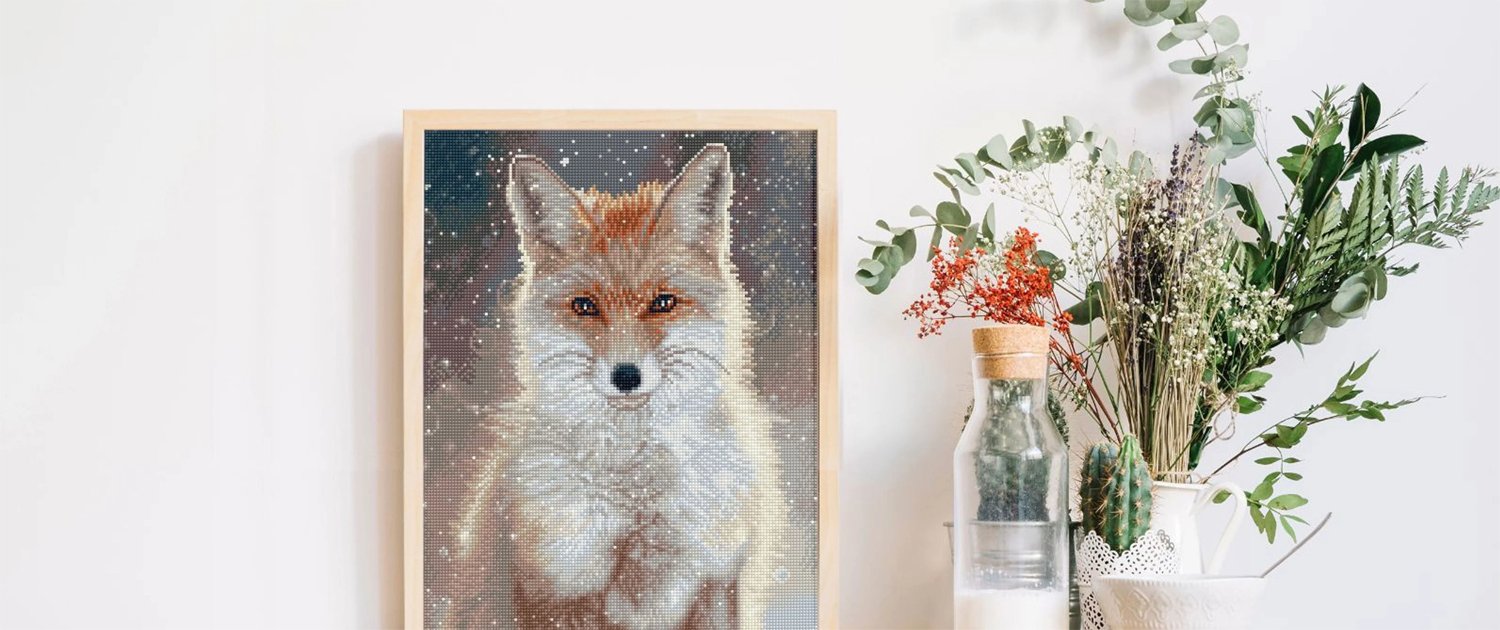
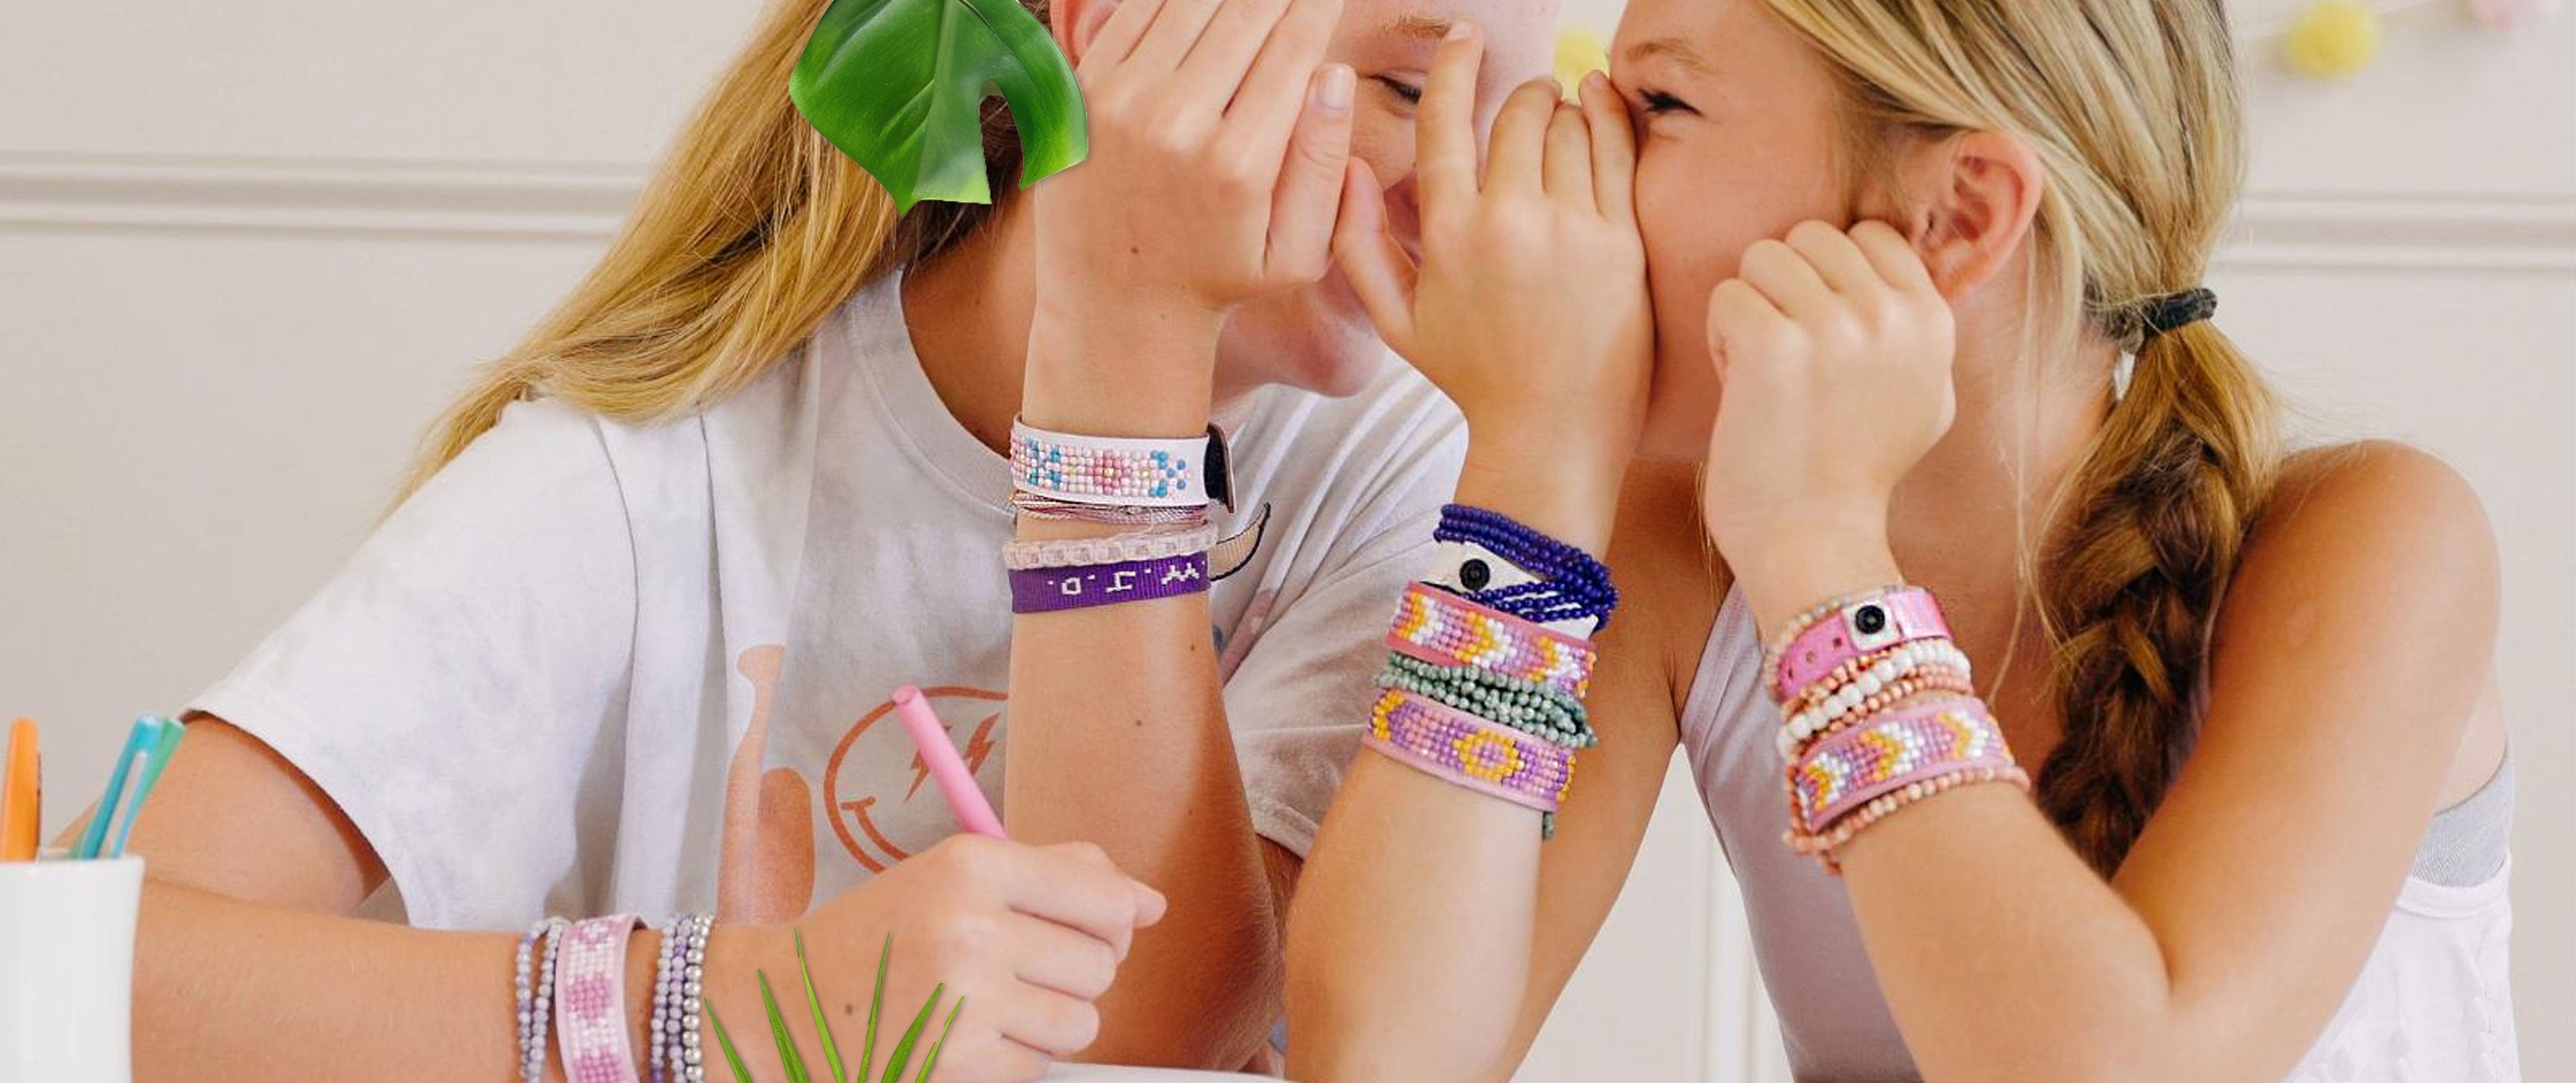
Diamond painting patterns allow you to create diamond art that can be applied to all kinds of surfaces, without needing a diamond painting kit. Take a look and let your creative juices start to flow—you can transform any plain accessory into something that’s sparkling and unique.

FREE DIAMOND PAINTING PATTERNS TO DOWNLOAD
Take a look at our collection of free charted diamond painting patterns—there are more than 60 designs for you to choose. The color palette of Dotz diamond gems you’ll need is listed on each pattern. You can also use leftover diamond drills from any of your Diamond Dotz diamond painting kits.

SUPPLIES YOU NEED TO USE A DIAMOND PAINTING PATTERN
You’re probably looking at the lovely accessories above, and wondering, how did those diamond painting designs get from the pattern to the project surface? That’s an excellent question! To master the technique of diamond painting with a charted design you need these essential supplies:
- The charted pattern – select and print the ones you like
- The Dotz drills colors needed for each pattern – shop our 400+ gem colors or use those you have on-hand
- The sandwich adhesive – this is the clear “sticky” adhesive you will dot on to create your design
- The basic diamond painting tools – a diamond painting pen, craft tray, wax (these are the same tools used in our diamond painting kits, so you can use leftover tools you may have handy)
- Scissors
- Washi tape (optional, but good to have)

WHAT IS SANDWICH ADHESIVE FOR DIAMOND PAINTING WITH A PATTERN
The sandwich adhesive is perhaps the most critical part of this diamond painting technique, because without it, you have no medium on which to dot your design. The sandwich adhesive is a double-sided sticky tape that is “sandwiched” between a clear sheet and a piece of white backing paper. It comes on rolls in a couple of different sizes. Understanding how this product works is an important part of this diamond painting technique.
To get started, cut a piece of sandwich adhesive that is the just a bit bigger than the charted diamond painting pattern.

HOW TO USE DOUBLE-SIDED SANDWICH ADHESIVE WITH A PATTERN
Place the cut piece of sandwich adhesive onto the printed pattern with the white side facing UP. This is an essential step because you can’t see the pattern through the adhesive if you don’t do this correctly. Carefully peel the white backing paper up to reveal the sticky adhesive, and the pattern underneath.

HOW TO DOT A CHARTED PATTERN WITH SANDWICH ADHESIVE
At this point, it’s really helpful to tape the sandwich adhesive in place on top of your printed pattern. You’re going to start dotting next, and you’ll want the grid of the pattern to stay secure as you dot so you’re placing the drills in the right spot.
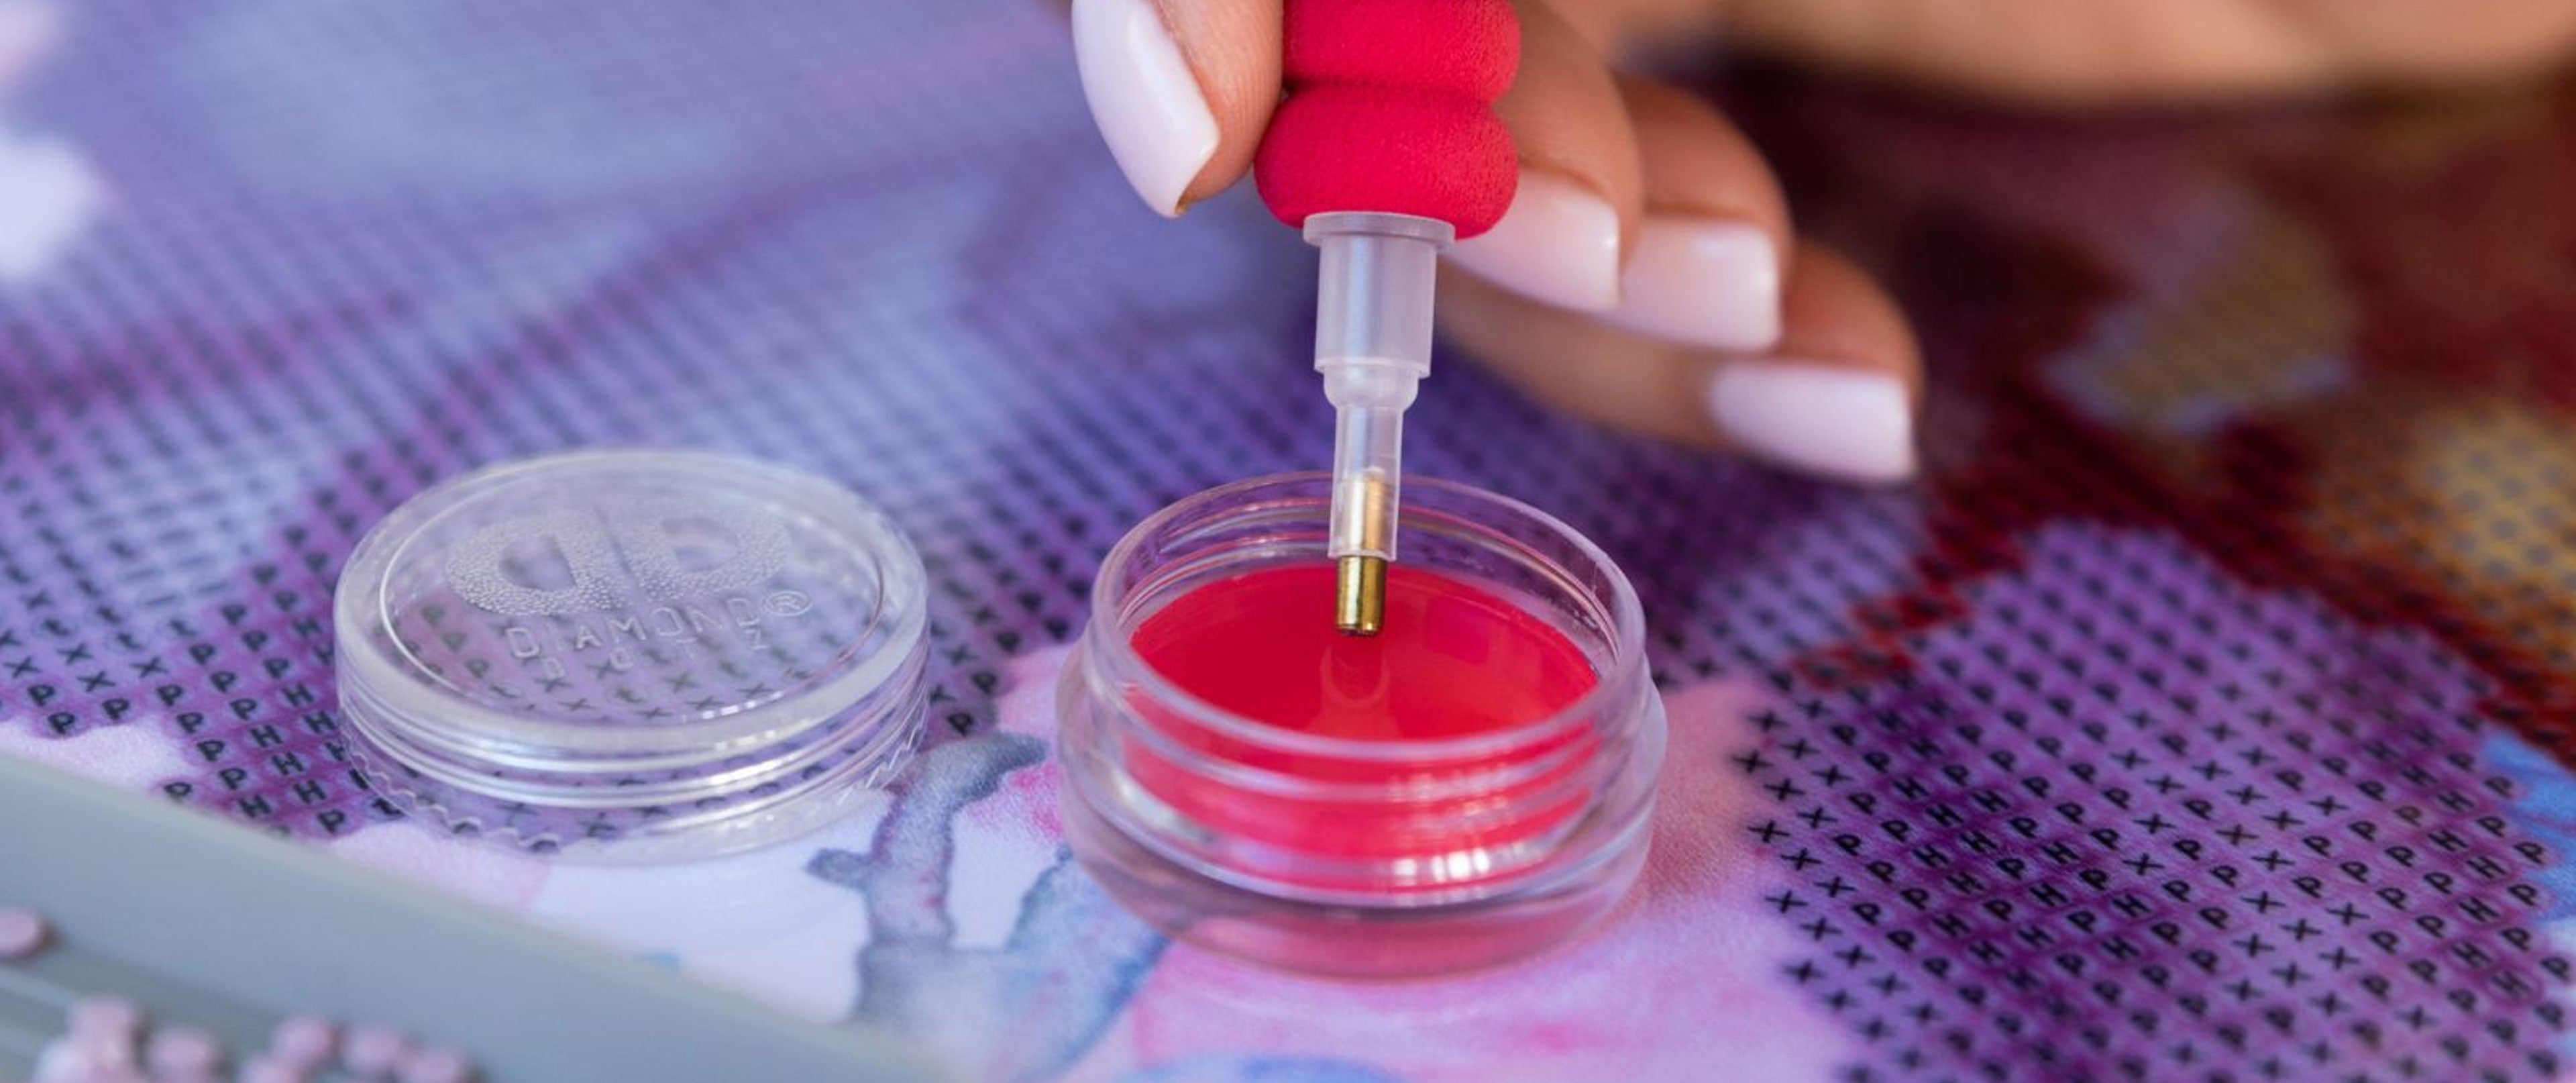
Once the sandwich adhesive is taped in place, begin dotting your design following the grid of the charted pattern using the diamond painting pen, wax and craft tray. The method of diamond painting is the same as our 12-step diamond painting technique that you use when working a kit. The only difference is that you are dotting onto the sandwich adhesive vs. the canvas of a diamond painting kit.
Try not to touch the sandwich adhesive as you work—remember it is sticky to the touch. You can place the white backing paper on top of your work in progress during breaks to prevent dust, etc., from sticking to your diamond art.

CUT OUT YOUR DIAMOND ART DESIGN
When you finish dotting your design, carefully cut around the finished piece of art. You can leave a small margin around the design (as shown) so as not to cut into the area of diamond drills. As you cut, the paper pattern will fall away from the design, leaving just the clear sheet on the back of the completed diamond art design.

PEEL DOTTED DESIGN OFF OF CLEAR SHEET
When you are ready to apply your dotted design to the surface of your choice, you need to peel the design off of the clear sheet that is now on the back of the design. This will reveal the other side of the sticky adhesive tape that allows you to stick your diamond art onto a surface. Once the diamond art is in place on its surface, dot around the perimeter of the design to cover the sticky margin of sandwich adhesive.

IDEAS FOR USING DIAMOND ART DESIGNS
What will you do with your sparkling piece of diamond art? Cell phones, notebooks, decorative accessories—all are great choices for embellishing with a bit of sparkle!

Once you master this process, you’ll want to revisit our collection of free pattern downloads, and our color range of Diamond Dotz drills. Familiarize yourself with all of the Freestyle diamond painting products and remember that you can also Freestyle diamond paint without any chart at all! It’s another creative application technique to perfect as you master the craft of custom diamond painting without a kit.