


WHAT CAN I DO WITH MY FINISHED DIAMOND PAINTING?
So, you’re a diamond painting fanatic and your stack of completed Diamond Dotz® diamond paintings is getting out of hand. First, rest assured that you are not alone! Talk to others in the diamond painting community, and you’ll quickly discover that it’s a really common question: what do I do with my finished diamond paintings? The good news is, there are a lot of really creative ways to finish your finished Diamond Dotz® canvases into something other than wall art.
Our easy craft tutorial shows you how to put your finished canvas to work and gives you step-by-step instructions for making a sparkling tote bag in just an hour or so.
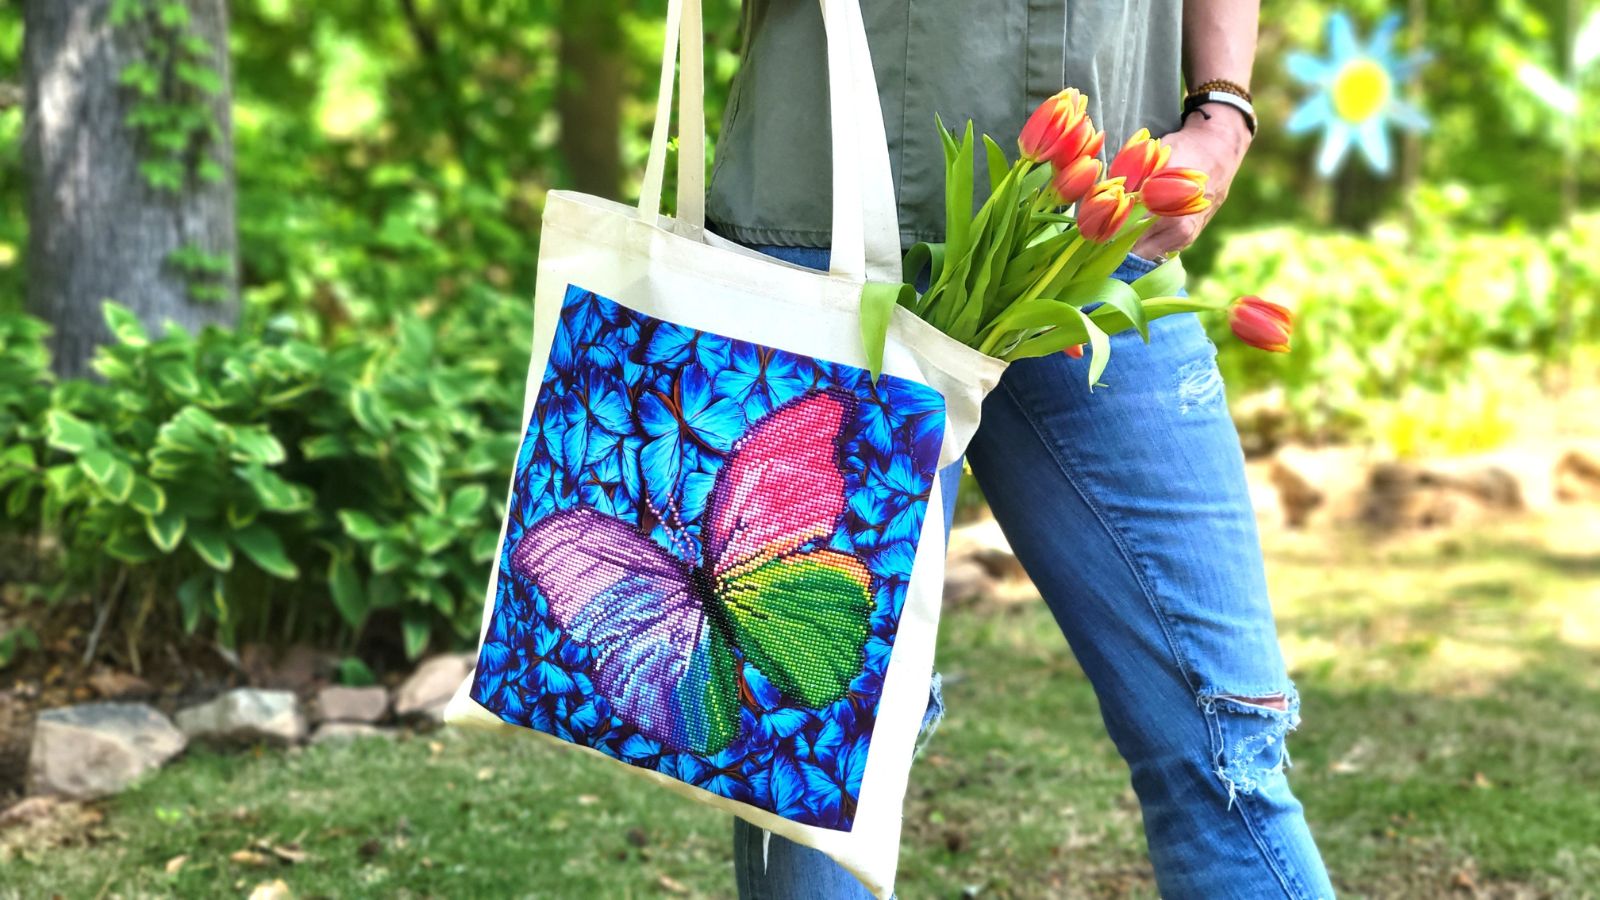
 Take these totes for example. Can you have too many bags? We don’t think so. That’s why this diamond painting turned sparkling tote is one of our favorite transformations. It’s easy. It’s functional. And it looks fabulous. Want to make one?

First, gather your supplies:
- Your finished diamond painting kit canvas
- Dotz® Stick brush-on adhesive
- Paint brush
- Scissors
- Tote bag

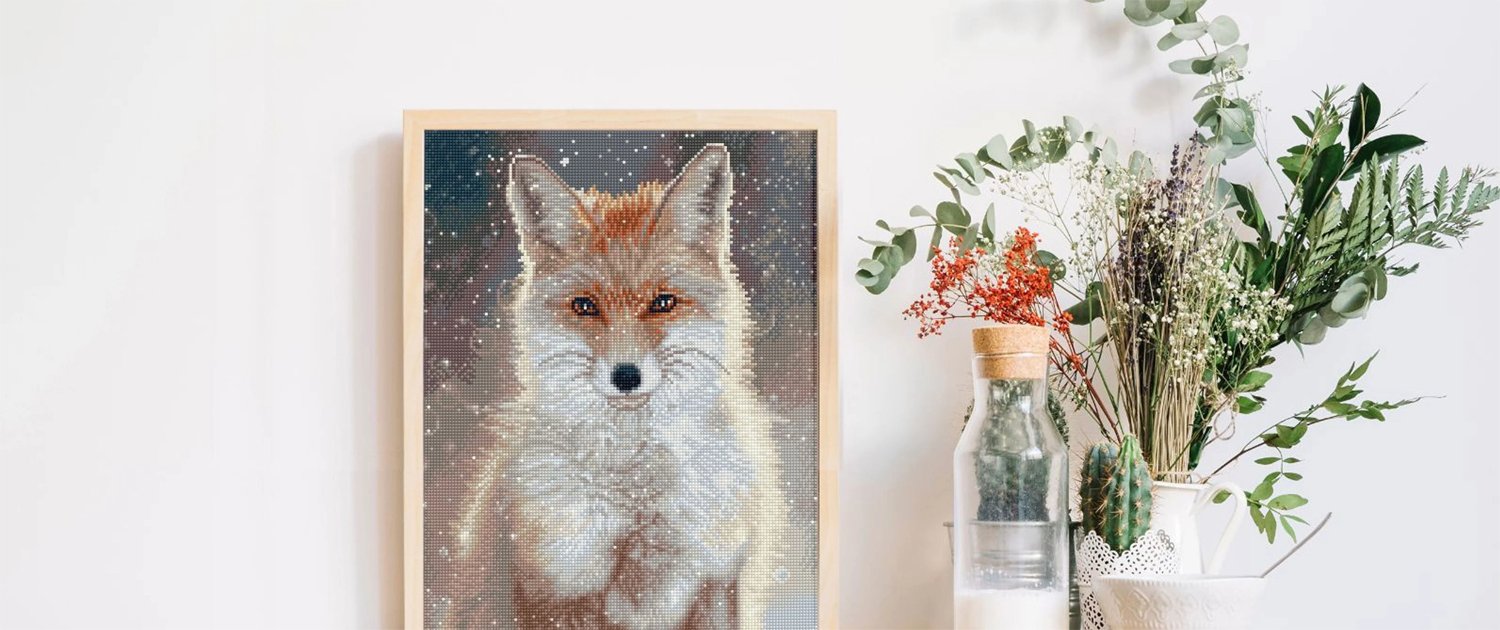
Trim the edges of your diamond painting canvas using a pair of scissors. You’ll want to trim off the color key, and any other printed information like the name of the design, the Diamond Dotz® logo, etc. We used the Flutterby Pink diamond painting design because we love butterflies!

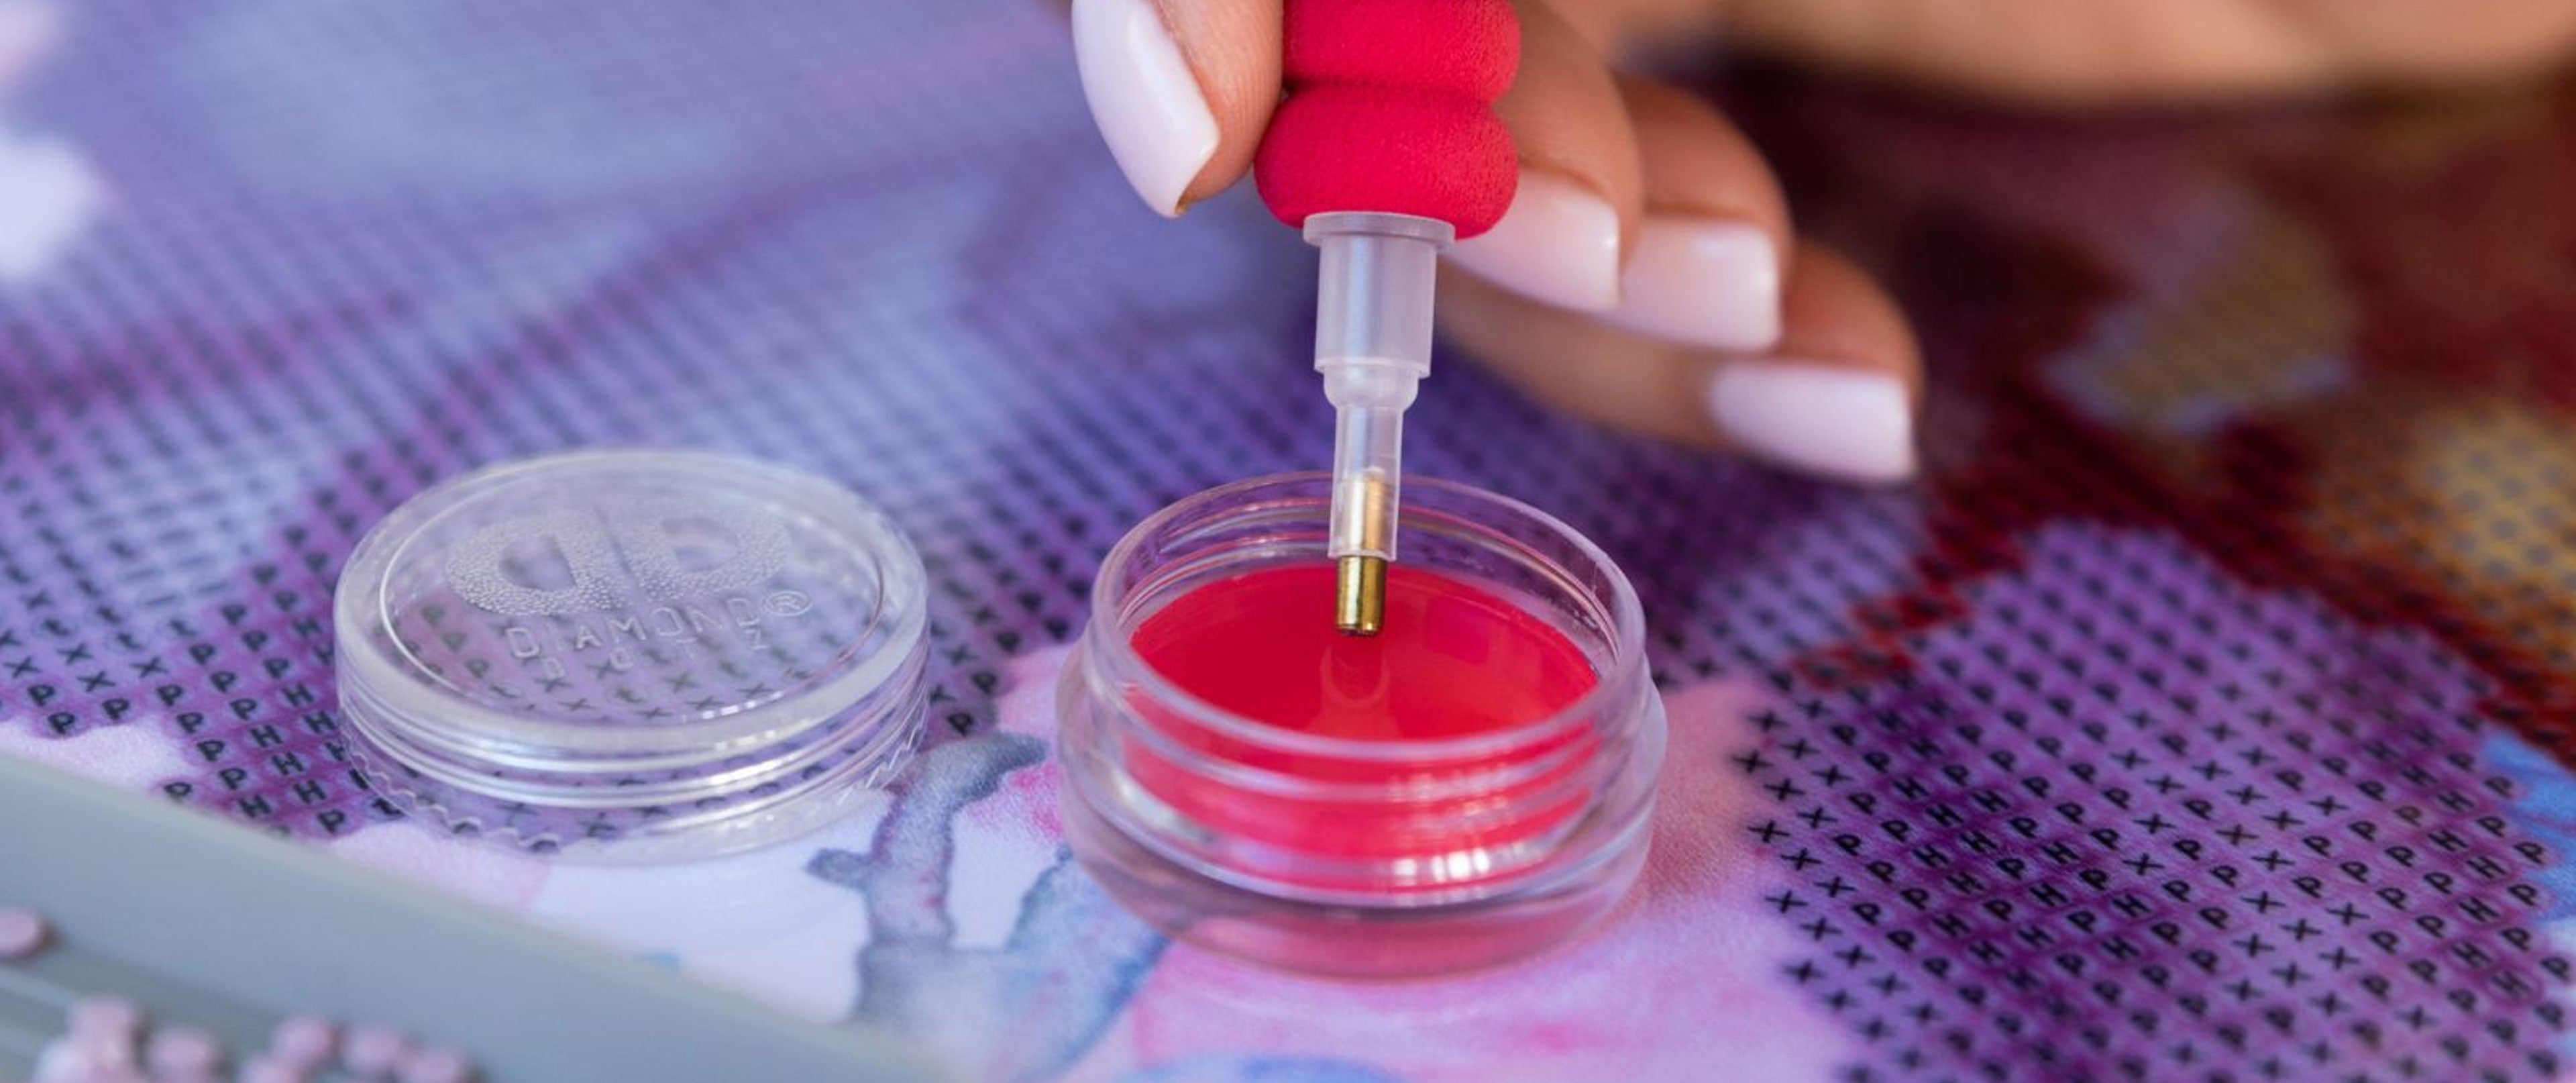
Turn your diamond painting canvas over and squirt some of the Dotz® Stick brush-on adhesive onto the back side of the canvas. Don’t apply too much.

Use the paint brush to brush the Dotz® Stick onto the canvas using even brush strokes. The Dotz® Stick adhesive should cover the back of the canvas in a consistent manner.

Let the Dotz® Stick dry until it is slightly tacky to the touch, and then position it on your tote bag as desired.

Smooth the diamond painting in place with your hands until you’re satisfied with its placement on your bag.

Voilà! Grab your sparkling tote and go. This unique diamond painting creation adds a punch of personality to any outfit – carry it with pride! And just wait for the compliments to start rolling in.

DIAMOND PAINTING TOTE BAG PROJECT VARIATIONS
Once you've mastered the basic technique of making a tote bag simply by trimming your diamond painting canvas (keeping it square or rectangle), you can get a little more detailed and trim around the dotted portion of your finished diamond painting, as shown above with the Standing Tall floral design (bags on left) and the Honey Pot Bear teddy bear design (bag on right). Take your bags up yet another notch by embellishing them with ribbons or beaded trim after you've adhered the trimmed diamond painting canvas to your bag following the easy method above. Cool, huh?
If you like these bags a lot, be sure to check out these other creative finishing ideas and easy framing solutions for your dotted canvases. If you're ready to tackle a new diamond painting kit, check out our latest arrivals - we've always got a bunch of fresh kits to discover!


